English
 Türkçe
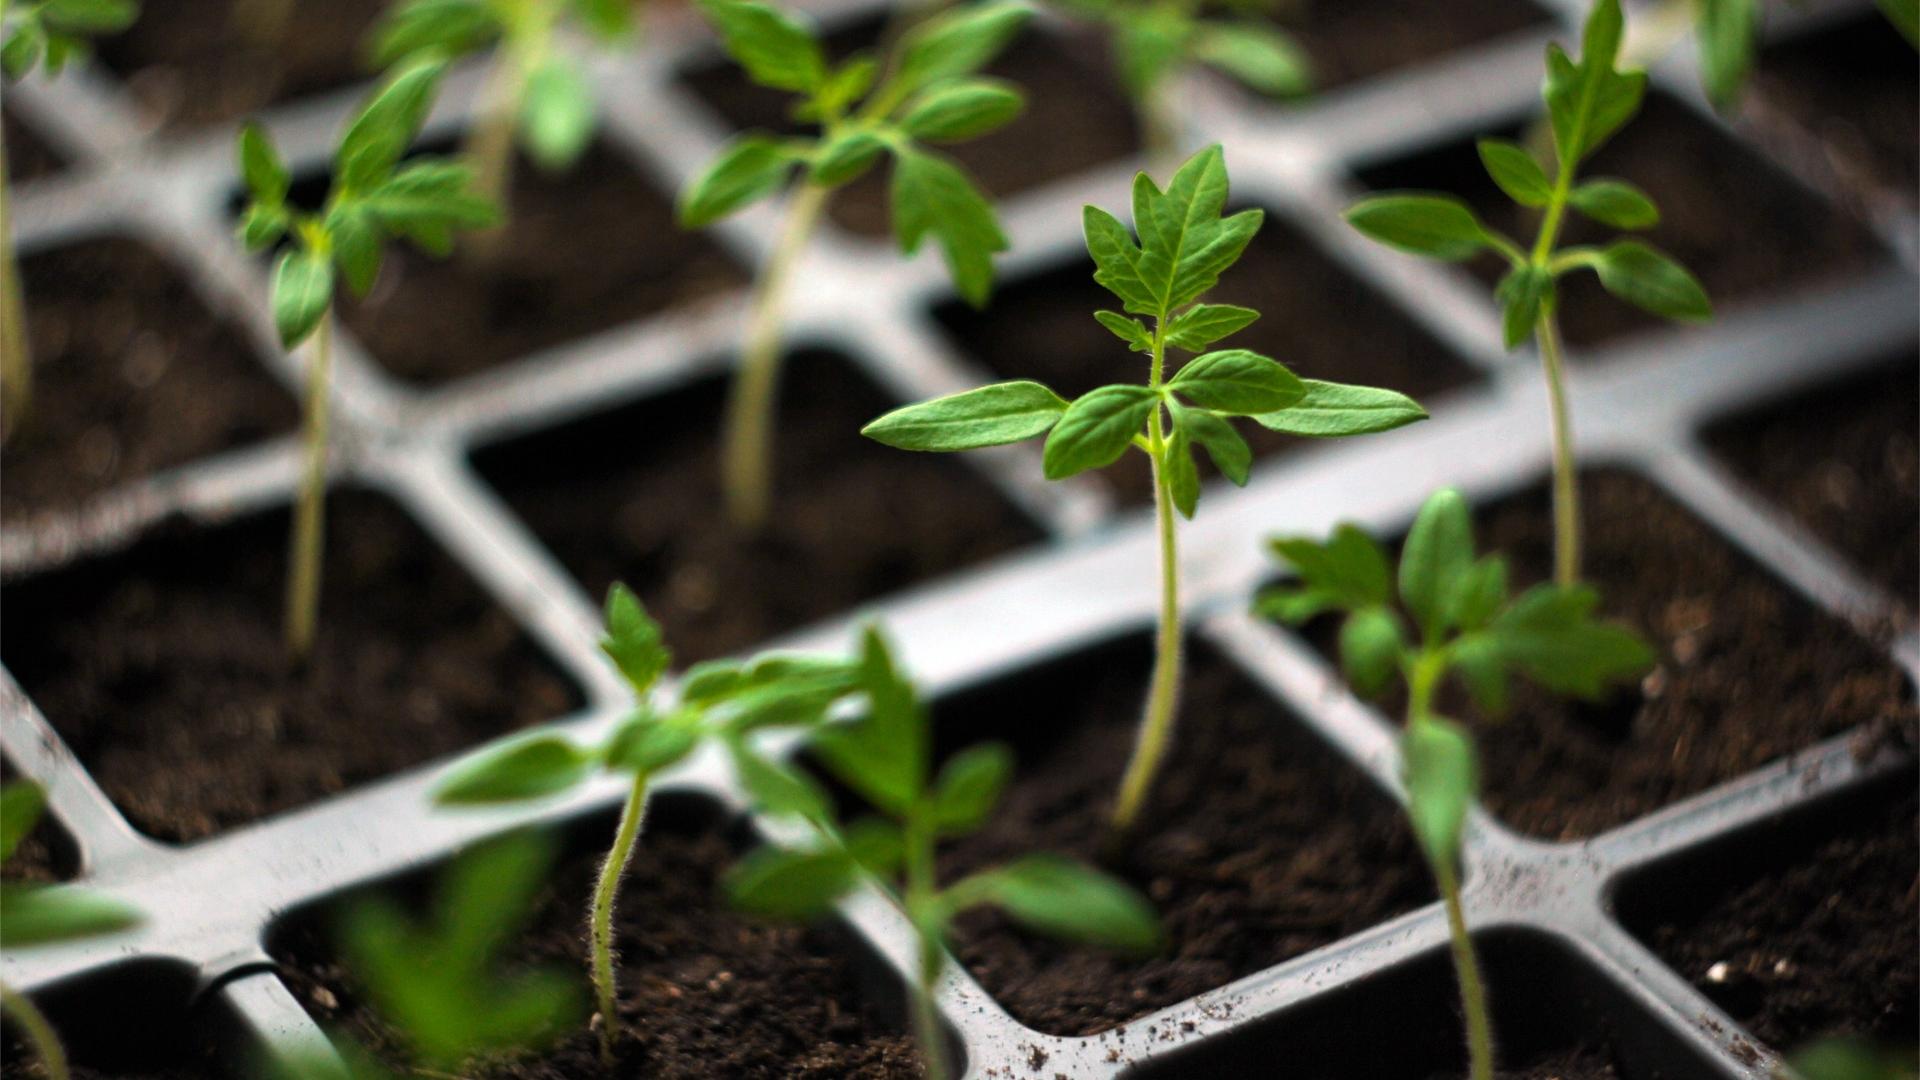
Growing Tomatoes 1: When and How to Sow Tomato Seeds
In the realm of home gardening, tomatoes stand out as a popular and rewarding crop. Whether a novice or an experienced gardener, understanding the intricacies of growing tomatoes can significantly enhance your success in cultivating this versatile fruit.
Sowing tomato seeds is a crucial step in the journey to grow healthy and productive tomato plants. The timing and method of sowing are essential for a successful start to your tomato-growing season. Here’s a guide on when and how to sow tomato seeds.
When to Sow Tomato Seeds
Determine the Last Frost Date
Find out the average date of the last frost in your region. Knowing this date is crucial because tomatoes are sensitive to frost, and planting too early can damage or kill the seedlings. Most gardeners start tomato seeds indoors 6 to 8 weeks before the last expected frost date. This gives the seedlings enough time to grow and develop before they are transplanted outdoors.
If you are in a warmer climate, you can start your seeds earlier, while those in colder climates may start a bit later. Consult a local gardening calendar or use online tools to determine the best timing for your specific location.
How to Sow Tomato Seeds
1. Choose tomato seeds of your preferred varieties
Roma (Plum) Tomatoes are oval-shaped, meaty, and with fewer seeds. Ideal for sauces, pastes, and canning. Popular Varieties: San Marzano, Amish Paste.
Cherry Tomatoes are small, round, and bursting with sweetness. Perfect for snacking, salads, and garnishes. Popular Varieties: Sungold, Sweet 100, Black Cherry.
Beefsteak Tomatoes are known for their large size, meaty texture, and rich flavor. Great for slicing and sandwiches. Popular Varieties: Brandywine, Mortgage Lifter, Beefsteak.
Early-season tomatoes are varieties that mature early, ideal for regions with shorter growing seasons or those seeking an early harvest. Popular Varieties: Early Girl, Celebrity, Stupice.
Heirloom Tomatoes are unique in shapes, sizes, and colors, often with distinct flavors and historical significance. Popular Varieties: Brandywine (Pink or Yellow), Cherokee Purple, Green Zebra.
2. Soak the seeds
Soaking the seeds for 12 hours before sowing will increase the germination rate of your seeds.
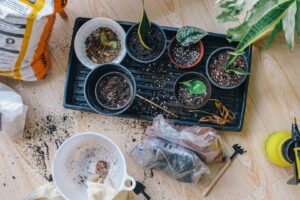
Prepare the seed starting media
Prepare seed starting trays or containers with drainage holes, use a sterile seed starting mix, or Rockwool seed starters and labels. Moisten the seed starting mix or the Rockwool before filling trays or containers. Ensure it is well-draining but retains moisture.
4. Sowing
Plant 2-3 tomato seeds about 0.5 cm deep in the center of each cell or container. Space them approximately 5 cm apart to allow room for growth.
5. Cover the seeds
Lightly cover the seeds with additional seed starting mix. If you are using a rockwool starter you don’t need to do that. Press the mix down gently to ensure good seed-to-soil contact.
6. Labeling
Use plant labels to identify the tomato variety and sowing date for each tray or container. This step is crucial for tracking the progress of different varieties.
7. Watering
Water the trays gently after sowing, ensuring the soil is consistently moist but not waterlogged. A misting spray bottle can be useful to avoid displacing the seeds.
8. Covering for germination
Cover the trays with a clear plastic lid or plastic wrap to create a greenhouse effect. This helps retain moisture and warmth, aiding germination.
Germination will start in 7-14 days.
9. Provide adequate light
Place the trays in a warm location with temperatures around 70-80°F (21-27°C). Once the seeds germinate, move them to a location with plenty of light. Consider using fluorescent or LED grow lights if natural sunlight is insufficient.

10. Thinning Seedlings
When the seedlings have two sets of true leaves, thin them to one strong seedling per cell or container. Use scissors to avoid disturbing the roots.
11. Transplanting
When the threat of frost has passed, and the seedlings are robust with several sets of leaves, transplant them into larger pots or directly into the garden with plenty of sunshine.
Instructions on transplanting, fertilizing and pruning of tomatoes for best yields and results will be in second part of our blog.
You may also like

More Than Just a Spice: The Healing Science of Rosemary

Drought-Tolerant Plants for Hot, Dry Gardens